

The dish rack is often the permanent resident of a small kitchen: a sprawling grid of plates beside the sink, a damp mat underneath, and a counter that never quite becomes available for chopping or making coffee. Moving it to a cabinet while it is still wet creates another problem—trapped moisture, musty smells, and a cabinet that needs cleaning more often than it should.
The answer is not necessarily buying a smaller rack. It is giving dish drying a complete cycle: a defined place to drip, enough air to finish drying, and a nearby home for the rack once it is genuinely dry. That turns an always-on counter fixture into a tool that appears only when needed.
A tiny kitchen works better when its temporary tasks have temporary footprints. The goal is not an empty counter at all times; it is knowing when and how the counter becomes empty again.
Start by separating washing from drying
Many crowded setups fail because every item is asked to do every job at once. The sink holds dirty dishes, the rack holds clean ones, and the narrow strip between them becomes a landing place for soap, sponges, lids, and cups. There is nowhere for water—or hands—to go.
Think of the area as three modest zones:
- Wash zone: the sink and the cleaning tools needed during washing.
- Drain zone: the place where water can run off clean dishes without reaching the counter edge or collecting underneath.
- Clear zone: one section of counter that stays available for food preparation, even on dish-heavy days.
This does not require three separate countertops. It requires deciding which surface can temporarily serve as the drain zone and keeping the drying setup compact enough that it does not leak into the clear zone.
Choose a drying pattern that suits your actual kitchen
The best location depends less on a rack’s appearance than on where water can go and how easily you can put dishes away. Before changing anything, observe one normal wash-up: Which items remain out the longest? Where do drips end up? Does the rack obstruct a drawer, a dishwasher, or the one chopping area?
| Pattern | Works best when | Watch for |
|---|---|---|
| Rack beside the sink on a draining tray | You have even a narrow counter strip and put dishes away regularly. | The tray needs a route for emptied water; do not let it become a hidden puddle. |
| Rack that bridges or sits over part of the sink | The sink is not needed continuously after washing, and the rack is stable. | It can make rinsing produce or filling pots awkward while it is in use. |
| Foldable rack with an absorbent drying mat | You mostly wash a few items at a time and need the counter back quickly. | Mats must be hung or spread to dry rather than left damp under the rack. |
| Cabinet-stored rack brought out for larger washes | You generally dry dishes right after meals and have a dry, accessible storage spot. | Only store it after it and its tray are dry; a closed cabinet is not a drying zone. |
There is no prize for choosing the most compact option if it makes cleanup difficult. A rack that holds your usual load without balancing plates at odd angles will create fewer drips and fewer repeat washes.
Give water a planned route
Water management is the difference between a useful drying area and a damp counter that needs constant wiping. A rack can drain directly into the sink, onto a tray you empty, or onto a clean, absorbent mat that you can dry afterward. What matters is that water does not sit unseen under the setup.
Keep the drip point inside the safe part of the counter
Position the rack so that its wettest area is well away from the counter’s outer edge, outlets, and paper items. If a tray has a spout, make sure it actually points toward the sink and is not blocked by the sink rim. If it does not drain, build emptying the tray into the dish-putting-away routine.
For a mat-based setup, use the mat as a drying surface, not as a permanent underlayer. After dishes are put away, hang the mat over the faucet, a rail, or another airy spot until it is dry. Folding a damp mat into a drawer merely relocates the moisture.
Dry the awkward pieces separately
Pot lids, cutting boards, reusable containers, and wide pans often disrupt a small rack because they block airflow and shed water long after plates seem dry. Lean them upright in a stable position near the sink, with space between pieces. Turn containers upside down only when they can drain freely; a sealed pocket of water does not dry efficiently.
Utensils deserve a quick check too. Dense clusters of spoons can stay wet in the middle. A shallow, open utensil holder or a brief shake before placing them in the rack helps air reach their surfaces.
Create a nearby parking spot for the dry rack
The storage spot should be close enough that putting the rack away takes seconds, not a rearranging project. Good candidates include the cabinet under the sink if it stays dry and has room, a lower cabinet beside the sink, or a vertical slot next to baking sheets. The rack does not need a large dedicated shelf; it needs a repeatable place where it will not be crushed.
Measure the rack in its stored position before reorganizing a cabinet. A fold-flat rack may fit upright beside sheet pans. A rigid rack may fit better upside down on a shelf, with its tray stored separately. Avoid a high shelf if you will need to lift a damp or awkward object to reach it.
Keep the rack and its drainage piece together. When a tray is stored elsewhere, it tends to get repurposed, lost behind pans, or skipped. Then the rack returns to the counter without its water-control component.
Use a simple “dry enough” check
Before storing the equipment, run a hand over the tray and the rack’s corners, joints, and underside. If water transfers to your hand, let it air out longer or towel it dry. This small check matters because plastic feet, wire joints, and folded sections can hold moisture after the visible surfaces look dry.
Do not confuse a rack that is empty with a rack that is dry. Emptying it immediately makes the counter look better, but storing it damp can create more cleaning work later.
Make the reset happen at a predictable moment
A system only clears the counter if it has a trigger. Choose a moment already built into your routine: after breakfast cleanup, after the evening dishes, or immediately before you start cooking the next meal. The exact time matters less than linking it to something you already do.
Try this compact reset:
- Put away dishes that are dry, starting with large pieces that free the most space.
- Empty or dry the drip tray, and hang any mat so air can reach both sides.
- Wipe the counter beneath the drying setup, including the strip against the sink.
- Check the rack’s underside for moisture.
- Fold or store the rack in its assigned spot.
This is not a demand to wash every dish immediately after eating. If dishes need to air-dry overnight, let them. The useful boundary is that the rack remains out because items are drying—not because there is no plan for it afterward.
Prevent the rack from becoming a catch-all
Once a rack has a permanent counter address, it can collect clean but unrelated items: water bottles, lunch containers, mail, small appliances, or a pan waiting to be washed. Those items make the rack harder to empty and blur the line between clean and dirty surfaces.
Set one rule: the rack holds only recently washed kitchen items that are actively drying. A clean water bottle can go in a cupboard; a dirty pan belongs in the wash zone; a non-kitchen item needs a different landing place. The rule is especially helpful in shared homes, where an obvious purpose makes a system easier to maintain without reminders.
A realistic small-kitchen example
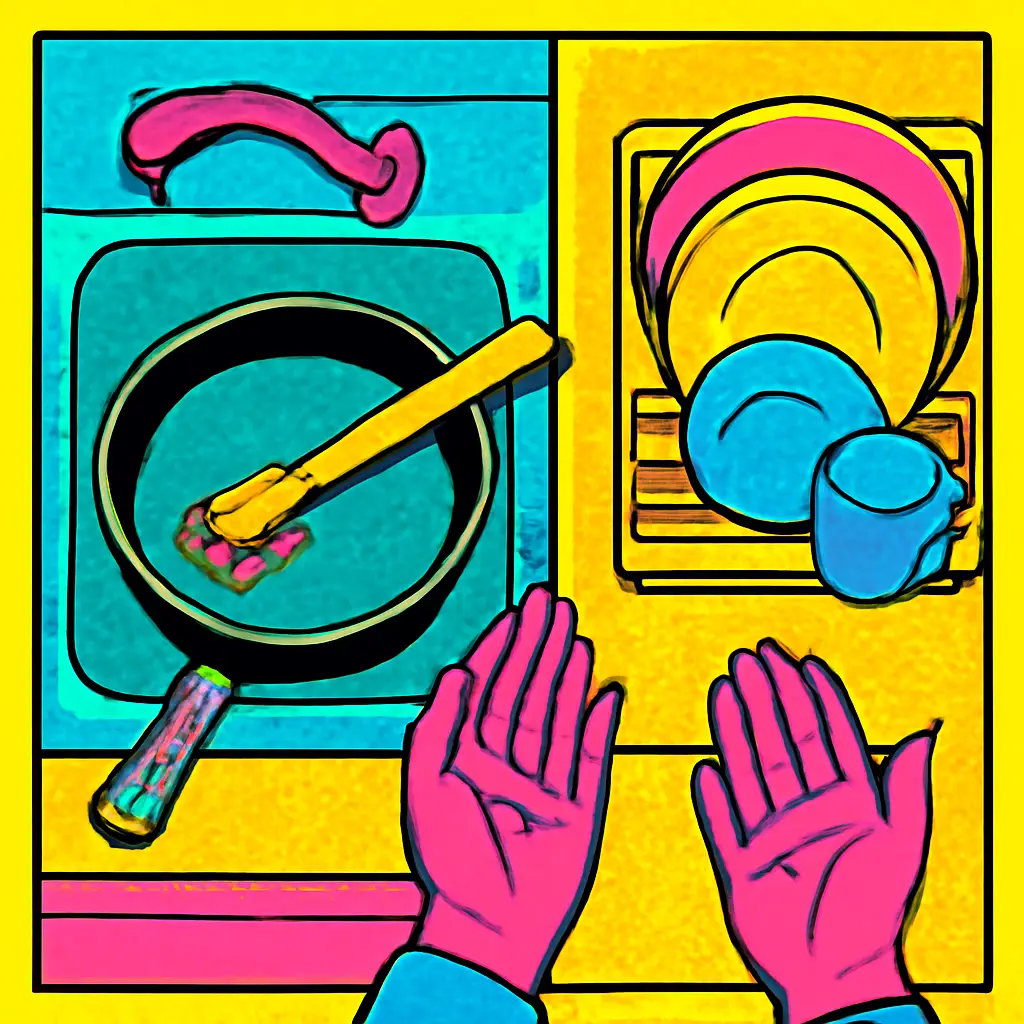
Imagine a kitchen with a single counter run beside the sink. Instead of leaving a full-size rack there all week, its resident uses a foldable rack on a narrow draining tray after dinner. Plates and glasses go into the rack, while a cutting board and pot lid lean upright at the back of the sink. In the morning, the dry dishes go away, the tray is emptied and wiped, and the folded rack slides vertically beside the sheet pans in the cabinet below.
The counter is not magically larger. But the same area is available for breakfast, packing lunch, or chopping vegetables for most of the day. The change comes from closing the drying cycle, not from owning less dishware or washing dishes more often than is realistic.
When a permanently available rack is the better choice
A stored rack is not ideal for every household. If several people cook at different times, if you hand-wash many dishes throughout the day, or if physical limitations make repeated setup inconvenient, a stable full-time drying area may be the more practical choice. In that case, focus on drainage, airflow, and keeping one edge of counter clear rather than forcing the rack into storage.
Likewise, do not place a rack where it feels unstable, blocks safe use of the sink, or requires reaching over a hot cooktop. Convenience is part of safety: a setup that is hard to use will quickly be abandoned.
Your next small move
Tonight, empty the dish rack and look at it separately from the dishes. Decide where it could sit while dry—one cabinet shelf, one vertical slot, or one hook for a drying mat. Then clear only that space. Tomorrow, you will have a complete destination for the rack instead of a vague intention to get it off the counter.








Ad